Pages

Thursday, March 31, 2016

New Gallery Wall Around the TV


Sometimes you change things up and for awhile the change is good.  Whatever you have done seems like such an improvement.  Such was the case with my gallery wall around the TV.
Not so long ago, this is how this wall looked.  The minimal look isn't always a good thing.

The absolutely best thing you can do to motivate yourself to do something about a room is take a picture of it.  Then you will think to yourself, "oh no, that is what this room looks like?!"  Pictures help you see the room as visitors do.

The above is a very timid attempt at some decoration on the wall around the TV.  At least the rug is a better color and size for the room.  No comment on the table.  I knew it was a temporary stand-in.

Much improved with a more interesting gallery wall.  But, I didn't feel all happy to see it.  It was just okay, an improvement, nothing to write home about.  Read about the coffee table here.


I finally recognized that the old wall had evolved into a rustic look that wasn't what I was going for.  I kept scanning Pinterest and blogs for gallery walls in my spare time.  This one really got my attention.


I like the simplicity and the symmetry of this arrangement. Also, it's interesting with an updated but traditional vibe. 
 I spent a couple of weeks looking for frames in thrift stores.  Yep, I started with the frame, not the art.  I found some, but ultimately I had to go to Ikea for the larger one.  Also, I am loving the modern simplicity of white frames and just could not find that at a thrift store.
I used newspaper (are we the last people in America to read the physical newspaper?) to make templates the size of my frames to see if my plan would work.
'Looks pretty good!

I enlarged a couple of photos I had taken at the beach last summer to 8 x10. This is a good standard size and the mat is a standard size too.

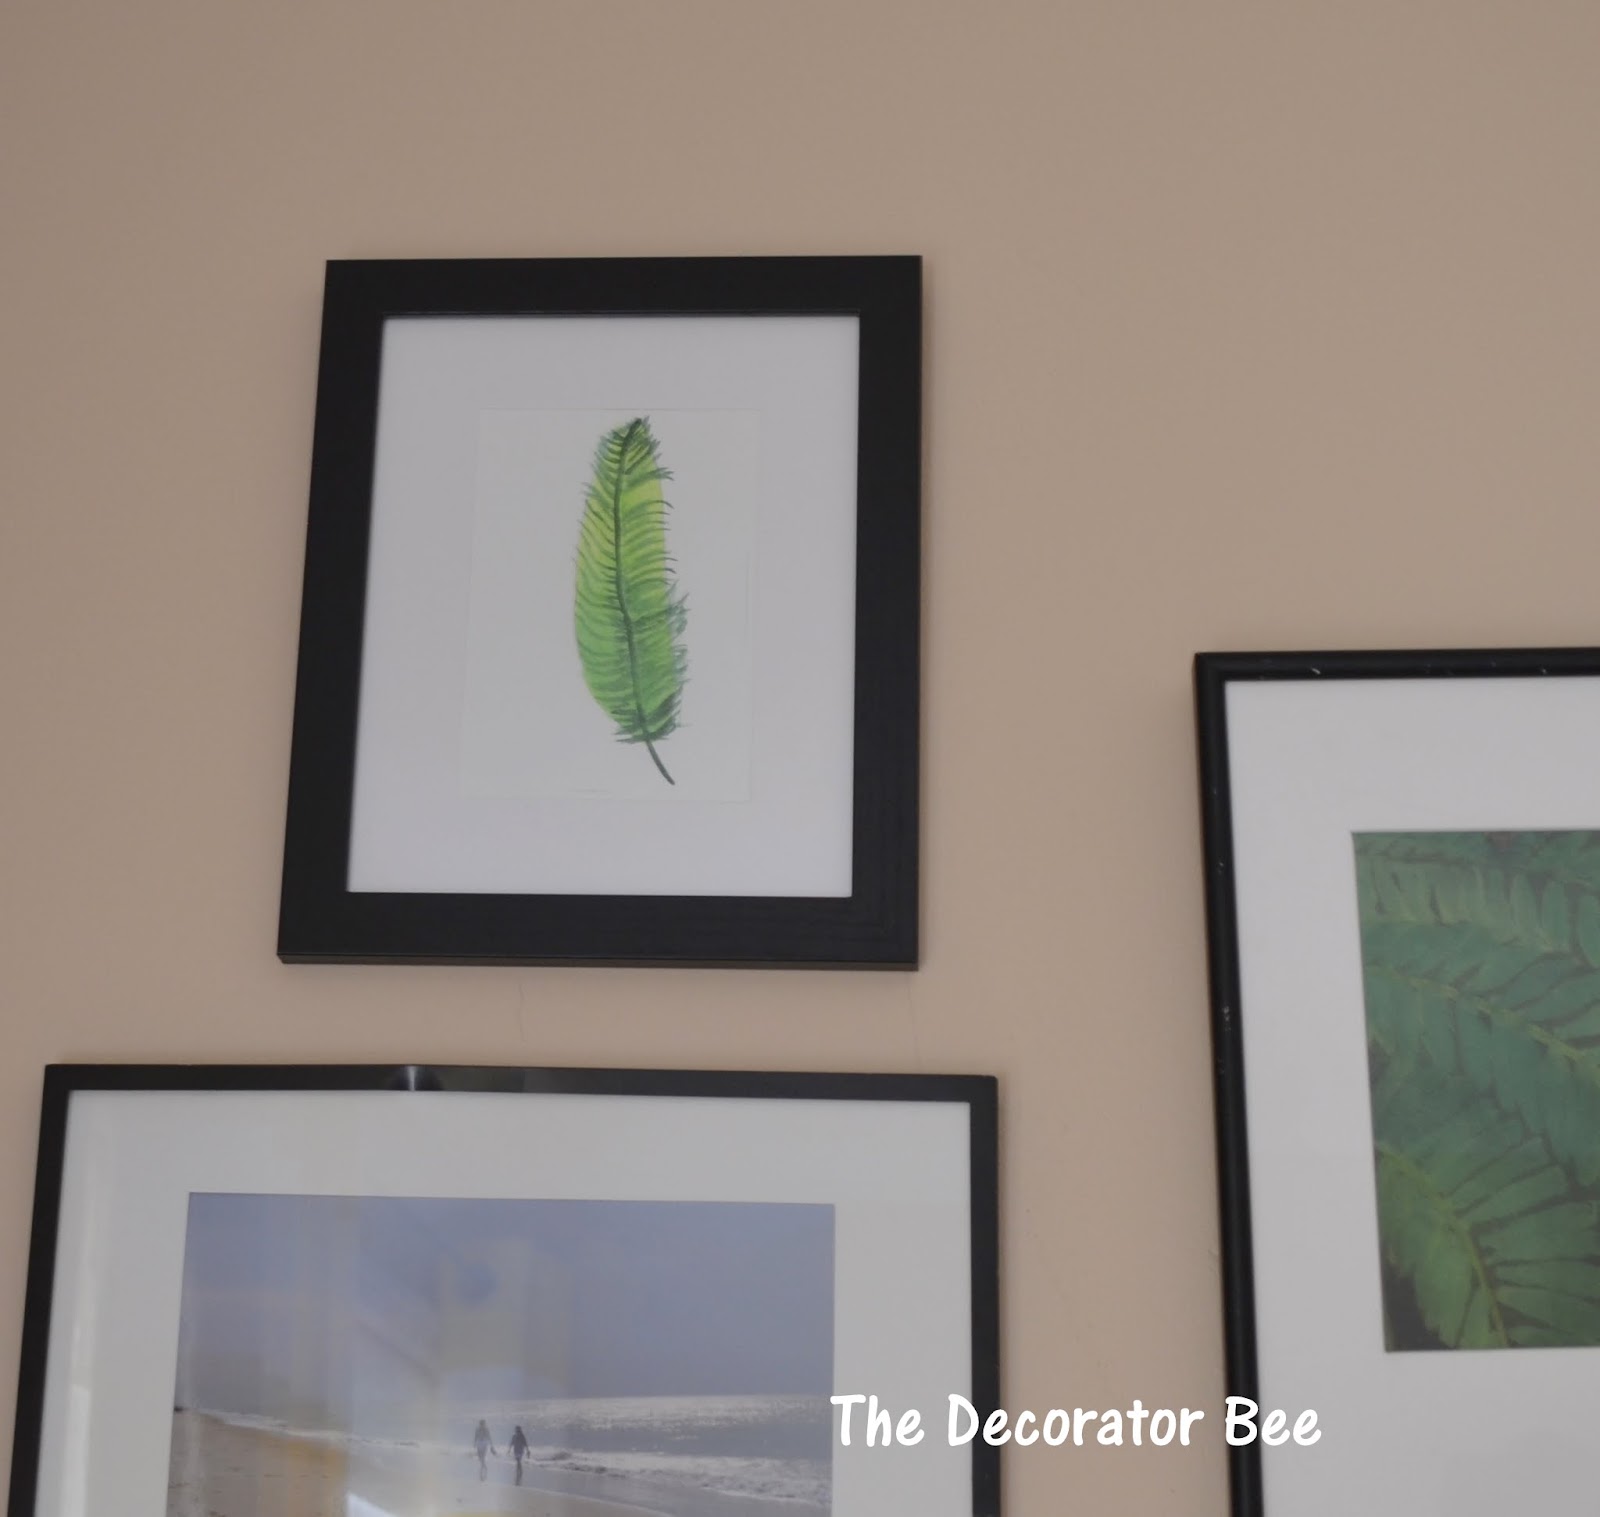
Then, I tried my hand at watercolor.  See my post about that here.
Of the smaller art, one is a card and the other I found, framed, at a thrift store.


For me, finding an arrangement that I liked, then finding the frames, then the art to go in them was the way to go.  Standard sizes for the picture frames and mats are the most inexpensive options. 


I also changed out the coffee table.  But more on that next week.
One more before and after.

Before: Picture taken February, 2015


After: Picture taken March 31, 2016

Decorating is such a process.  Try this, try that, no, that isn't right, until you find what feels right.  You have to be either gifted or obsessed.  I'm the latter.
There are still a few tweaks to go on this room. Sigh.


Tuesday, March 29, 2016

Front Yard makeover progress

We have owned our home for 17 years and the curb appeal of the house has always been an issue.  Within the first few years we updated our walkway to a more attractive flagstone.  We removed ivy that I swore was going to come in the windows and strangle us.  We added some landscaping.  Then the oldest child went to college followed by her 2 brothers and landscaping was no longer top priority.  Until now.
We have a small, narrow front yard which gets a lot of shade from surrounding trees.
This side of the yard is so small and it slopes toward the driveway.  Trying to make this area look landscaped was so frustrating.  The only planting that always looks great is the oakleaf hydrangea to the left there. 
I'm sure you are looking at those scraggly bushes under the windows.  No matter what I plant here (and it has been plenty) nothing will flourish.


This tree is a 40 foot Sweet Gum tree, towering over our one story ranch house.  The proportions are all wrong and I have wanted to cut it down for years.
Finally, last summer I talked Mr. Bee into getting it cut down.


The tree company did a good job of taking away all of the debris and grinding the stump, spreading fill dirt and sprinkling grass seed.  I filled in with plants from my back yard and deck and bought a few.  Since this was late summer, it wasn't a good time to run out and buy a ton of plants.  Plus, I wanted to be deliberate and have a plan. 

Here is how it looks today, a stark and desolate patch of ground.

But that is about to change.  April is a good time to plant shrubs and perennials around here. In preparation I have been studying pictures of small front gardens to get some ideas on how I would like for this area to look.
This is what I am thinking.


I really love the full, but tidy way the plants are arranged in these photos, although I wouldn't go for the topiaries.  Of course landscaping is always complicated by considerations of weather and sunlight requirements.  Even though the tree is gone, the area is shaded by another tree in the middle of the yard and by the house at certain times of the day.

And it would be nice to have the majority of the plants be evergreen.  I hate the desolate look during the winter.  There's a lot to consider but I am excited to finally be able to create a more welcoming landscape in front of the house.
With list in hand I will soon be headed to the garden center.

Do you have plans for your garden this spring and summer?


Monday, March 21, 2016

DIY Art


One of the most overwhelming tasks in decorating a room is deciding on what to put on the walls. 
If you aren't quite sure of your style direction and you are on a budget, the better option may be to go with something not too expensive.  When you tire of it, it's easy to make a change.
I recently ran across this tutorial on making your own feather watercolor.  I already had most of the supplies because I took a watercolor class  a couple of years ago.


My stash of thrift store frames comes in handy when I get artsy.
I encourage anyone to try watercolor art.  You really can't go wrong; it's a fun project to play around with.  Inspiration can be found in your photos (especially those of beaches or landscapes or gardens) or on Pinterest.  If you don't want to make a big investment, buy one of those little kits for kids.
Below are a few links to some other DIY art projects that I want to try.

DIY Tissue Paper Art 15


This is a long (and funny) post from LiveLoveDIY to
get to the how-to on this art.  I like the modern vibe though.  Michael's has huge sheets of paper for 99 cents.  Use some left over paint from the garage, and a sponge brush and you're good.


I have been working on two gallery walls (different rooms) so I will be showing you some of my inexpensive art soon.
I've been working on these galleries for months and it's not easy to get the look I want.  There have been bursts of energy, followed by mulling and head-scratching.
I'm off to Ikea later this week for one frame that I haven't been able to find in my thrift store.  Hopefully then I will be able to wrap up that wall.
It would be nice to have it done before Easter.


Monday, March 14, 2016

Centerpiece of Forsythia and Lenten Roses

My favorite floral arrangements and centerpieces are like the best hairstyles,  casual and  effortless looking.  As we all know, getting that effortless effect can take a bit of effort.:)

We had some friends over  for dinner this weekend.  Once the menu is decided  my next thought is what shall I do for a centerpiece.  Even though all of the stores are full of tulips and daffodils and other spring bloomers, I love using flowers from the garden.  And my forsythia is blooming! Perfect!


Lenten Roses are also blooming. These flowers last for months in the garden.  They do  have a tendency to droop somewhat once they are cut, but the petals are soft and pretty and they work well with the forsythia.  I added some cuttings from my privet, which is glossy and deep green.
I gathered all of my small glass vases and started working.


With several vases you can spread flowers down the table and have varying heights.  I find it more dynamic than one central arrangement.
Tucking in a few birds helped with my spring theme.


Candles, both tapers and votives, finished it off.  The tablecloth was made from some fabric I had bought years ago.

I always take pictures of my tables.  I don't know why because I never do the same thing twice.
It's just fun coming up with something new, I guess.
Have a great week!
<a href="http://www.bloglovin.com/blog/14776615/?claim=5v2sur6q83z">Follow my blog with Bloglovin</a>

Wednesday, March 9, 2016

Cherry Blossom Branches

Unfortunately I do not have a Japanese cherry tree in my yard.  But, I really wanted the effect of these beautiful branches in my house.  So, I decided to make some.
Let me show you the finished result first.


I researched online for some tutorials about how to make the branches and then used those steps that made the most sense.
To make the branches, cut branches from your garden. I needed to trim back a Japanese maple, so I cut some branches from that tree.  You want long, curved, graceful branches for this project.   You will also need white tissue paper, scissors, a pink pen or marker and a glue gun or white glue.
To begin, I cut the tissue in small circles, about 1 inch in diameter.
It's quicker to fold the tissue paper and you get several circles from one cut.  I drew little squiggly lines with a pink marker to give my blossoms that faint suggestion of pink.
You need two pieces of tissue per blossom.  Use the eraser end of a pencil to fold the tissue into a blossom.


The next step is to place a dot of glue on the end of the tissue and place it on the branch.  I place it where there is already a bud.
Continue doing this until you are satisfied with your branches.


On one of the sites I looked at, the author said, "just throw them out when you are done".  What?!  No way.  I will be saving these babies until next year.  That's the whole point.
More on Easter décor later.  As you can see, I'm on my way.


Monday, March 7, 2016

A New Start

You may have noticed (I hope you have noticed) that I have not posted on my blog, BunnyhillCottage, for a few weeks now.  The reason I have been absent is because I am changing the name of my blog.  And, apparently, thinking of a new name consumes all of your creative energy.

 From the beginning I wasn't sure about the name Bunnyhill Cottage, but it is the name of my Etsy shop (that chosen because all of the other names I wanted were taken) and consistency seemed important.  But as I told friends and acquaintances about Bunnyhill Cottage and gave them the name, I sensed curiosity on their part.  Why that name?  The explanation wasn't really enlightening. "Oh, I like bunnies, and all the good names were taken" I'd say vaguely.

So, after being completely spontaneous and impulsive in picking out the name Bunnyhill Cottage, I wanted to be more deliberative and thoughtful this time around. I brain-stormed, pondered, analyzed.  My husband and friends patiently considered my flights of fancy, including "flights of fancy". The house is littered with paper scraps and post-its scribbled with names like "Glimpses of Home" and "Stem to Stern" and "Fancyfree Place". I lay awake at night thinking, "holly hedges" and "Arlington Park", "cherry blossom way".

But one morning I woke up with 'decorator bee' buzzing around my brain. Ha! I know, but really, that's how it felt. The name stayed with me and grew on me and it just seemed fitting.  So, The Decorator Bee was born.

Nothing else will change. I'm not sure if that's a good or a bad thing.  I do have goals of posting more often and more regularly. 

I have missed being here while working out the name change.  That kind of surprised me since I have been a sporadic poster. But it feels good to be back and full of ideas.


Thanks for being on the journey with me and welcome to The Decorator Bee!


Related Posts Plugin for WordPress, Blogger...